Tools and Materials Needed for Window Film Installation
When it comes to installing window film on glass, you’ll need a few essential tools and materials to ensure a successful installation. Here is a list of the tools and materials you’ll need:
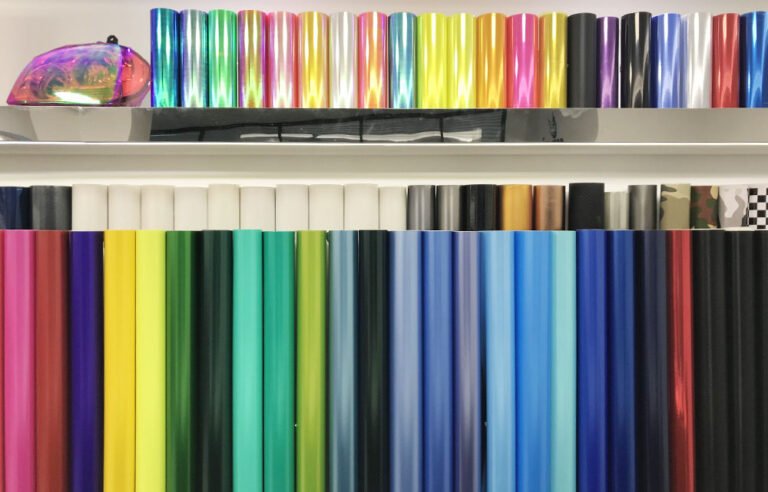
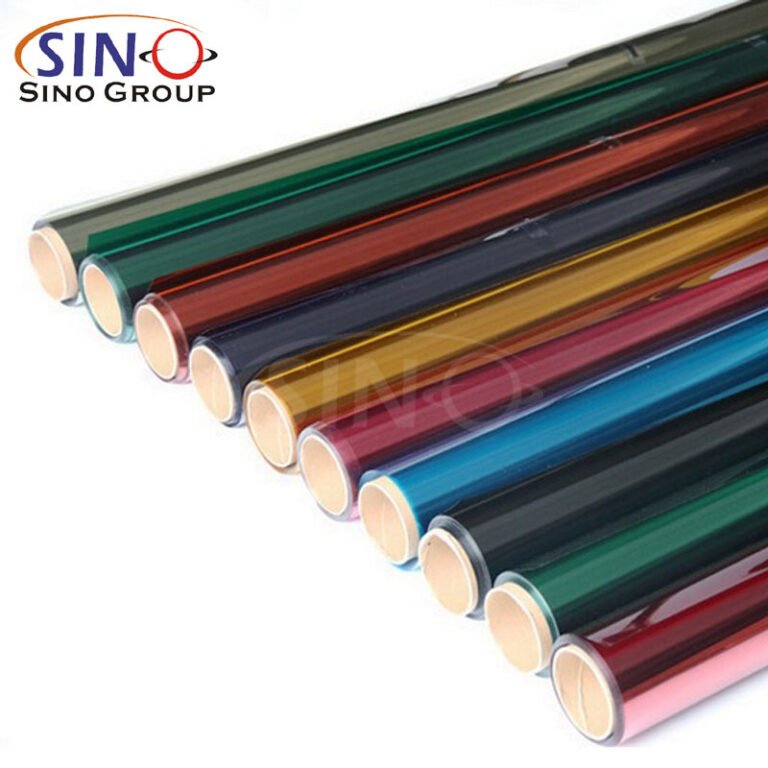
- Window Film: Choose the type and design of window film that suits your needs, whether it’s for privacy, UV protection, or decorative purposes.
- Measuring Tape: Use a measuring tape to accurately measure the dimensions of your windows before cutting the film.
- Utility Knife or Window Film Cutting Tool: These tools are used for cutting the window film to fit the size of your windows.
- Spray Bottle: Fill a spray bottle with a mixture of water and a few drops of dish soap. This will be used as a solution to help apply the window film smoothly.
- Squeegee or Window Film Application Tool: A squeegee or window film application tool will help remove air bubbles and smooth out the film during the installation process.
- Lint-Free Cloth or Paper Towels: These are used for cleaning the glass surface before applying the window film.
- Scraper or Razor Blade: A scraper or razor blade can be useful for removing any stubborn residue or old window film from the glass.
- Heat Gun or Hair Dryer (optional): In some cases, a heat gun or hair dryer can be used to make the window film more pliable and easier to work with during installation.
- Cleaning Solution: Prepare a mild cleaning solution to ensure the glass surface is free from dirt, dust, and grease before applying the film.
- Masking Tape: You may use masking tape to hold the film in place temporarily while positioning and aligning it on the glass.
- Ladder or Step Stool: Depending on the height and accessibility of your windows, you may need a ladder or step stool to reach them comfortably.
Having these tools and materials readily available will make the window film installation process smoother and more efficient. Remember to carefully follow the instructions provided by the manufacturer of the specific window film you’re using.
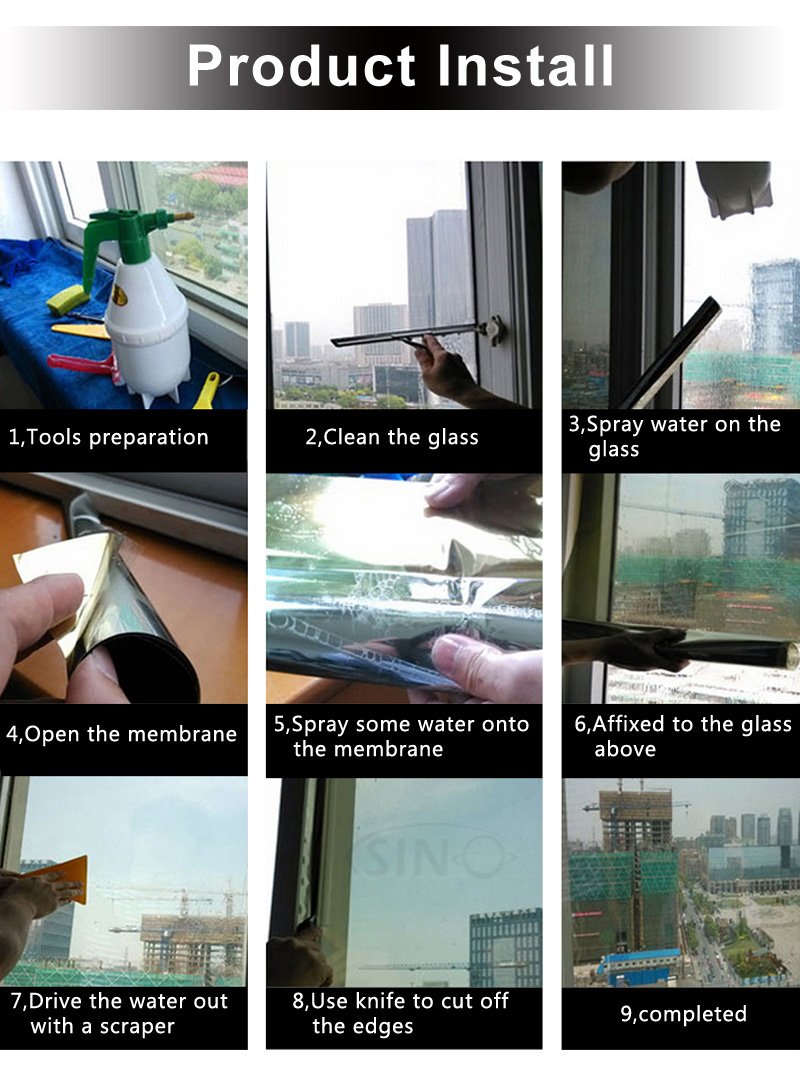
Step-by-Step Guide on How to Install Window Film on Glass
- Gather the necessary tools and materials: You will need a utility knife, spray bottle filled with a mixture of water and a few drops of liquid soap, a squeegee or credit card, a lint-free cloth, and, of course, the window film itself.
- Measure and cut the film: Measure the dimensions of your window and add an extra inch to each side. Roll out the window film and use a utility knife to cut it to the desired size.
- Prepare the glass surface: Thoroughly clean the glass using a glass cleaner or a mixture of water and vinegar. Remove any dirt, dust, or debris from the window.
- Wet the glass: Spray the glass with the water and soap mixture. This will create a slippery surface that allows you to easily adjust the film during installation.
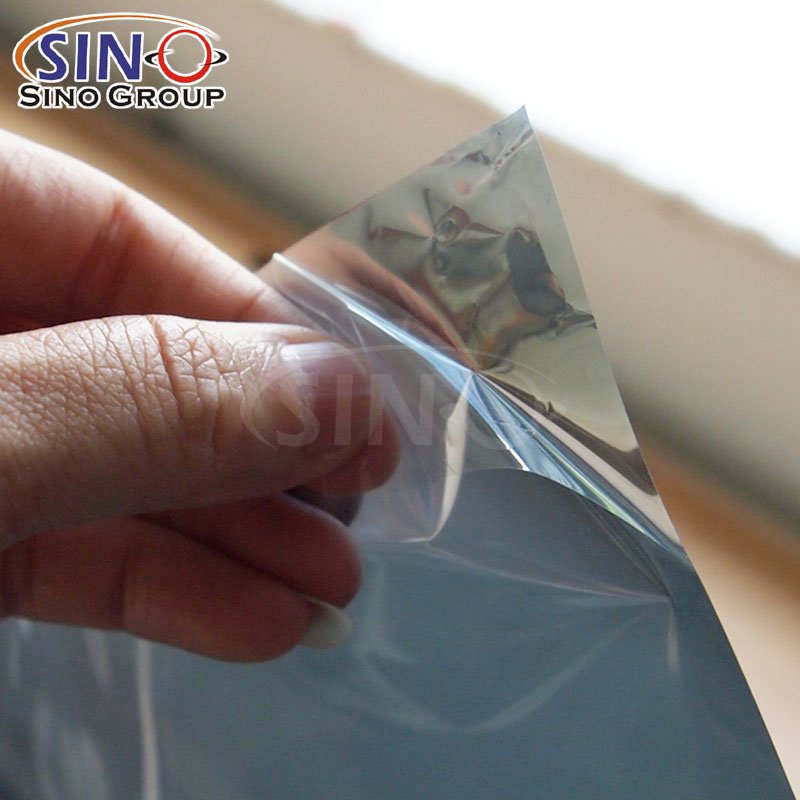
- Peel the backing and apply the film: Peel a few inches of the backing from the top corner of the film. Be careful not to touch the adhesive side with your fingers. Align the top corner of the film with the top corner of the window and slowly stick it onto the wet glass.
- Smooth out the film: Use a squeegee or credit card to smooth out the film from top to bottom. Start in the center and move outwards, removing any air bubbles or wrinkles as you go. Keep the film wet during this process to prevent it from sticking prematurely.
- Trim the excess film: Once the film is properly positioned and smooth, use a utility knife to trim off the excess film from the edges of the window. Be precise and careful during this step.
- Dry and finalize the installation: Gently wipe away any excess moisture on the glass using a lint-free cloth. Pay attention to the edges to ensure a clean finish. Let the film dry completely before touching or adjusting it further.
- Finishing touches: Inspect the installed film for any remaining air bubbles or imperfections. If necessary, use the squeegee or credit card to smooth them out.
Following these steps should help you achieve a successful installation of window film on your glass. It’s important to read and follow the specific instructions provided by the manufacturer of the window film you are using, as techniques and recommendations may vary slightly.


Troubleshooting Common Window Film Installation Issues
Here are some common window film installation issues that you may encounter and troubleshooting tips to address them:
- Air Bubbles: If you notice air bubbles trapped under the film, use a squeegee or a credit card to gently smooth them out towards the edges. Start from the center and work your way outward.
- Film Creases or Wrinkles: To address creases or wrinkles in the film, carefully lift the affected area and reposition it. Use a squeegee to smooth it out, ensuring it lays flat against the glass.
- Uneven or Excessive Film Overlap: If you have overlapping film sections that appear uneven or excessive, use a sharp utility knife or a razor blade to trim off the excess film. Be cautious not to cut the glass.
- Poor Adhesion: If the film doesn’t adhere properly to the glass, ensure that the glass surface is thoroughly clean and free from any residue. You can also try applying a window film adhesive solution to improve adhesion.
- Faded or Discolored Film: Over time, window film may fade or discolor due to exposure to sunlight. Unfortunately, there’s no quick fix for this issue. Consider replacing the old film with a new one for a fresh look.
- Peeling or Lifting Edges: If the edges of the film start to peel or lift, use a hairdryer on low heat to gently warm the area. Then press down firmly with a squeegee to re-adhere the film to the glass.
- Dirt or Dust Particles Trapped Under Film: If you notice dirt or dust particles trapped under the film, carefully lift the affected area and clean both the film and the glass with a lint-free cloth. Reapply the film, ensuring the surface is clean.
- Excessive Light Leakage: If you’re experiencing unwanted light leakage around the edges of the film, double-check that the film is properly aligned and covers the entire glass surface. Trim any excess film if necessary.
- Difficulty Removing Old Film: When removing old window film, you can try using a steamer or applying heat with a hairdryer to soften the adhesive. Gently peel off the film using a razor blade or a plastic scraper.
Remember, it’s important to follow the manufacturer’s instructions and take your time during the installation process to minimize the chances of encountering these issues.

Final Words
In conclusion, this ultimate guide has provided you with step-by-step instructions for installing window film on glass, empowering you to transform your windows with ease. By following the detailed process, from measuring and preparing the glass surface to carefully applying and trimming the film, you can achieve a professional-looking installation. Remember to troubleshoot common issues such as air bubbles or wrinkles by using the recommended techniques. With the right tools and techniques, you can enhance your privacy, reduce glare, and even improve energy efficiency. So go ahead and embark on this DIY project, allowing your creativity to flourish while enjoying the numerous benefits of window film. Upgrade your space and enjoy the beauty and functionality that window film brings to your home or office.